


Tesla 12V system repair demands safety precautions, including protective gear and professional guidance for high-voltage tasks. DIYers should use specialized tools and refer to Tesla manuals, while complex repairs may require auto body services to ensure safe, accurate results. Prioritize safety steps like disconnecting batteries before attempting any repairs.
Tesla vehicles, renowned for their cutting-edge technology, also boast a complex 12V electrical system. When it comes to repairs, safety is paramount. This comprehensive guide details the essential precautions and steps for repairing your Tesla’s 12V system. From understanding the basic components to selecting the right gear and tools, you’ll learn how to navigate this process safely and effectively. Whether a novice or experienced mechanic, these insights are crucial for successful and secure Tesla 12V system repair.
- Understanding Tesla's 12V System: Basic Components
- Safety First: Protective Gear and Tools Required
- Step-by-Step Guide to Safe 12V System Repair
Understanding Tesla's 12V System: Basic Components

The Tesla 12V system is a crucial component of your vehicle’s electrical network, powering various essential functions and accessories. Understanding its basic components is paramount when undertaking any repair or maintenance task. This system comprises several key elements, including the battery, alternator, voltage regulator, and fuse box. These parts work in harmony to provide a steady 12V current throughout your Tesla’s systems, from lighting and audio to dashboard instruments.
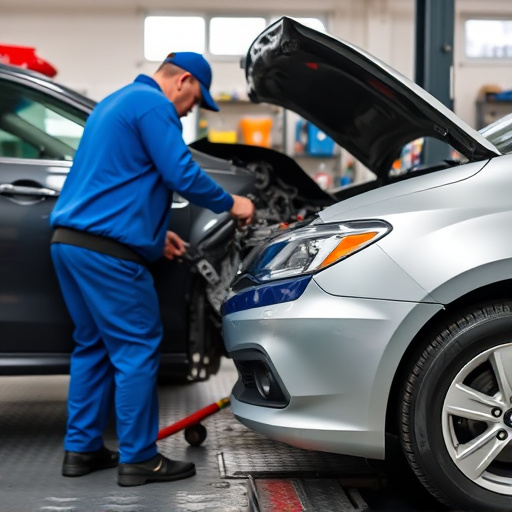
When it comes to Tesla 12V system repair, safety is paramount. Given the high voltage involved, any misstep can lead to serious hazards. Therefore, always prioritize safety by wearing protective gear like insulated gloves and glasses. If you’re considering DIY repairs or seeking services from a reliable auto repair near me, remember that collision centers with experienced technicians are best equipped to handle these sensitive tasks. Even for seemingly simple tasks, such as replacing a blown fuse or auto glass, it’s important to consult professionals who understand the intricacies of Tesla vehicles and can ensure your safety and the longevity of your vehicle’s electrical systems.
Safety First: Protective Gear and Tools Required
When undertaking a Tesla 12V system repair—be it for power issues or to replace components after an automotive collision repair—safety must always be your top priority. This involves ensuring you have the right protective gear and tools to prevent accidents or injuries during the process. Always wear insulated gloves, safety glasses, and a work jacket with reflective material when handling electrical components, especially around high-voltage areas like the battery pack. This is crucial, as Tesla 12V systems can store significant energy, similar to what you’d find in vehicle collision repair scenarios.
Additionally, gather essential tools including voltage testers, insulated screwdrivers, and pliers designed for precise work on electrical systems. These will enable you to navigate through intricate wiring without the risk of short circuits or unexpected power surges. Remember, proper safety precautions not only protect you but also ensure a more accurate and efficient Tesla 12V system repair, whether it’s a fender repair or replacing damaged components after an accident.
Step-by-Step Guide to Safe 12V System Repair
Before tackling any Tesla 12V system repair, safety should be your top priority. Here’s a step-by-step guide to ensure a secure and effective process:
1. Power Off and Disconnect: Begin by ensuring the vehicle is completely off and the 12V battery is disconnected. This prevents any accidental power surges or shocks during the repair process, which could damage components or pose safety risks.
2. Identify the Issue: Carefully inspect the 12V system for any visible signs of damage or wear. Common issues include faulty cables, corroded connectors, or a failing battery. Understanding the problem at hand will guide your repair approach and ensure you have the right tools and parts on hand.
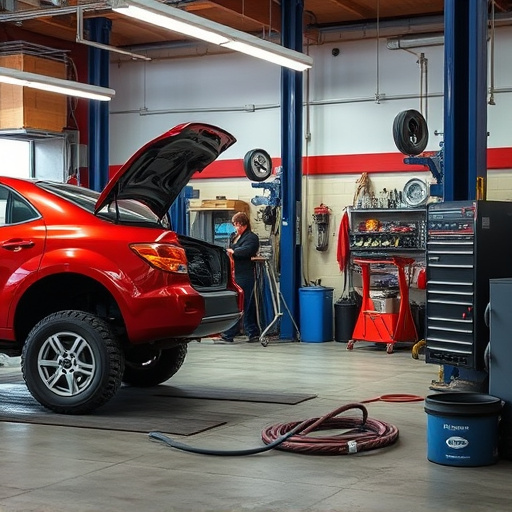
3. Use Proper Tools and Protective Gear: Equip yourself with the necessary tools specifically designed for Tesla 12V system repairs. This may include insulated screwdrivers, wire strippers, and gloves to protect your hands from electrical hazards. For more complex jobs, consider auto body services that specialize in Tesla repairs for expert guidance and safe handling of components.
4. Follow Manufacturer Guidelines: Refer to Tesla’s official repair manuals or guidelines for the specific 12V system in your vehicle model. These resources provide detailed steps tailored to your car, ensuring compatibility and safety during replacement or repair.
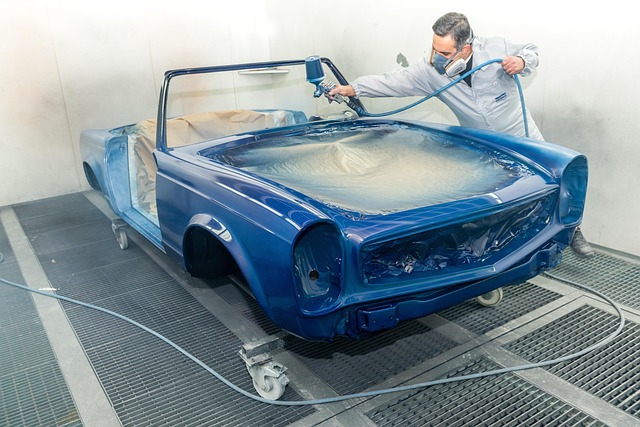
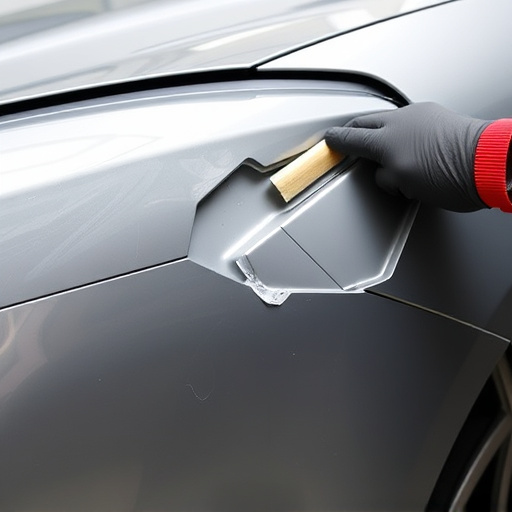
5. Replace or Repair as Necessary: If a cable is damaged, clean corroded connectors, or replace the battery, follow the recommended procedures precisely. For intricate repairs or vehicle body repair requiring paintwork or car paint repair, it’s advisable to seek professional auto body services for optimal results and safety.
When undertaking Tesla 12V system repair, prioritizing safety is paramount. By equipping yourself with the right protective gear and tools, and meticulously following a structured repair guide, you can confidently navigate this process securely. Remember, a thorough understanding of your vehicle’s intricate systems empowers you to make informed decisions, ensuring both the longevity of your Tesla and your personal well-being.